
Below are the step-by-step instructions on how to do the finishing, along with photos - I suggest you read all the instructions through before starting.
If you have any questions whilst you're doing the class, please leave a comment and I'll reply as soon as I can.
Once you've finished your pillow, please post a picture so that we can all see how you got on :) (Remember, you'll need a WP account to do this - once you've registered your email address, let me know and I'll add you as an author to the blog). Have fun!
Materials
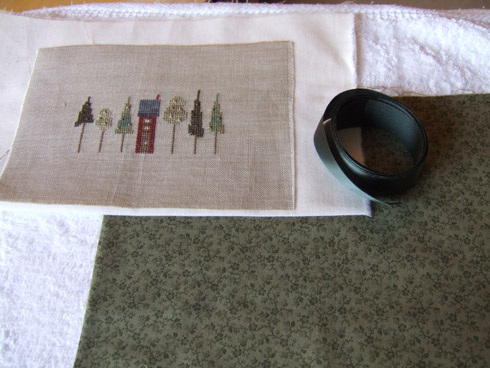
- Stitched piece
- Lining fabric for your stitched piece
- 2 pieces of fabric for your pillow
- Ribbon
- Sewing cotton
- Fiberfill
- A sewing machine is also required for this class
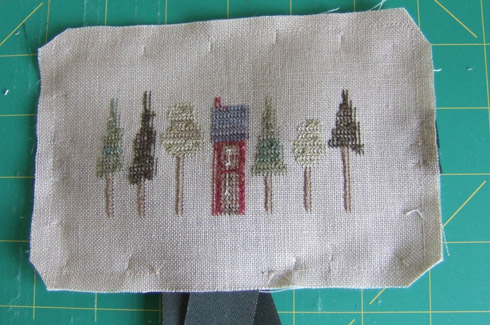
1. Decide how much of a margin you want around your stitched piece and add another 1/4" inch all round for a seam allowance. Trim off the excess fabric.
NB: you probably won't want to leave too small a margin, otherwise your ribbons will encroach too much on your design - about an inch or so is fine.
2. Cut a piece of lining fabric the same size as your stitched piece
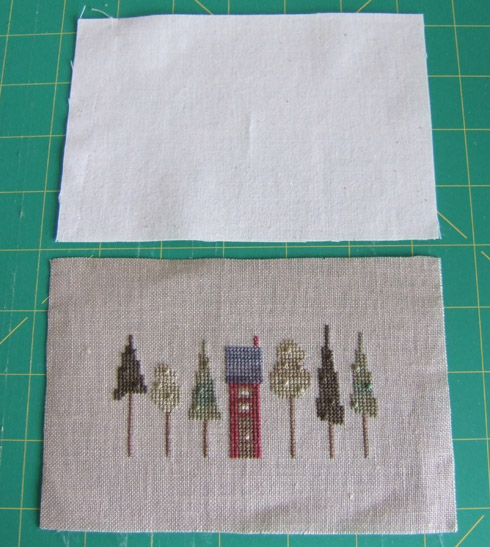
At this stage, you may want to mark your 1/4" seam allowance on the wrong side of either the stitched piece or the lining fabric - I have omitted this step on mine as I have a 1/4" sewing foot on my machine.
3. Cut your ribbon into 4 equal pieces.
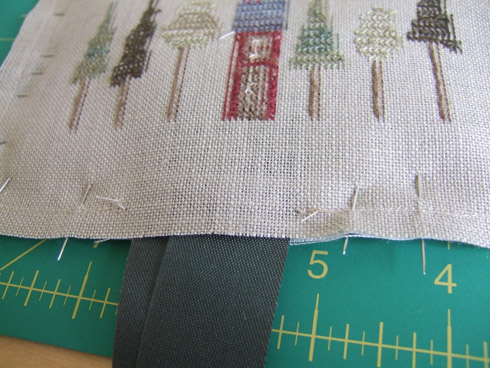
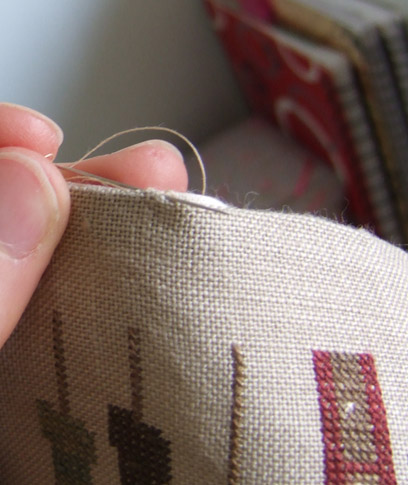
4. With your stitched piece right side up, take one piece of ribbon and place one edge centrally against the edge of one of the short sides of your piece:
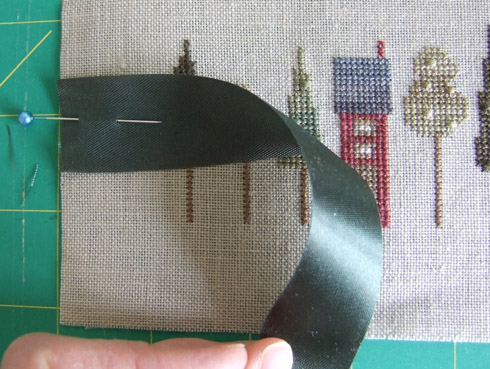
NB: If you're using a ribbon with a definite right side like mine has (see pic), make sure that the wrong side of the ribbon is uppermost on your stitched piece.
5. Pin the edge of the ribbon in place with 3 pins, making sure that the edges of the ribbon and fabric are both straight. Repeat with another piece of ribbon for the other side, so that you have something like this:
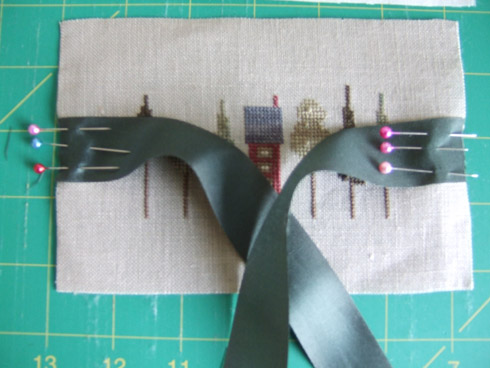
6. Arrange the free ends of the ribbon so that they lie at the middle of the bottom edge of your stitched piece (as shown in the above picture) This prevents them getting caught up when you sew the stitched piece and the lining together and the 3 pins (in the previous step) ensure that the ribbon stays straight against the edge of the fabric.
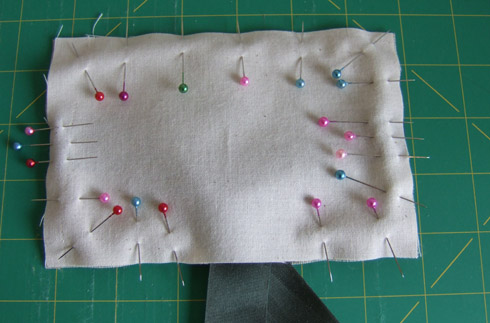
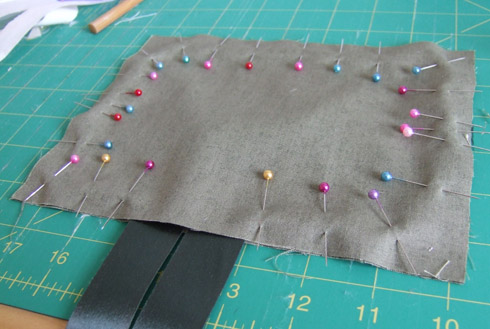
7. Take your lining fabric and place it right side down on the stitched piece, matching up one of the short sides. Start to pin the lining to the stitched piece and when you reach the pinned ribbons, carefully remove the pins one at a time and repin to include the lining fabric, making sure that the ribbon stays in the middle and is still straight.

Pin around the ribbon at the bottom edge, leaving a gap; you should end up with something like this when it's all pinned together:
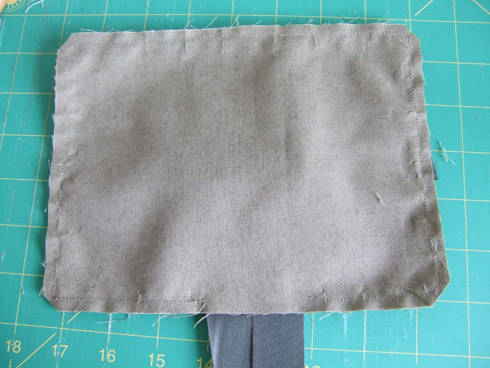
8. Starting at one side of the ribbon on the bottom edge, sew around both pieces of fabric 1/4" from the edge, finishing just before the ribbon at the other end.
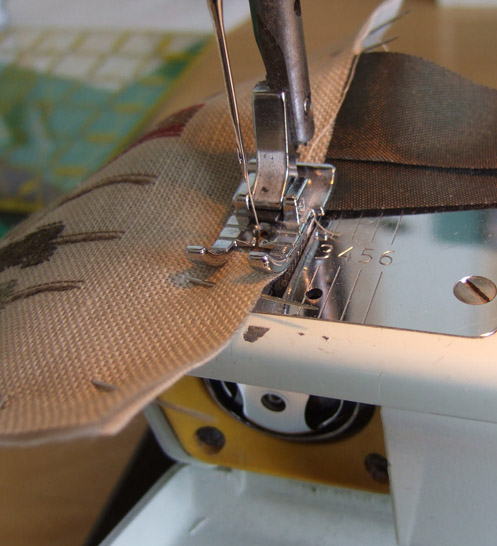
You should have a gap of about 1.5" inches at the bottom for turning. If you want to leave a bigger gap, that's fine, but don't leave a smaller gap or you won't be able to turn your piece inside out!
9. Remove all pins and clip the corners of your fabric just beyond your stitching, to eliminate bulk:
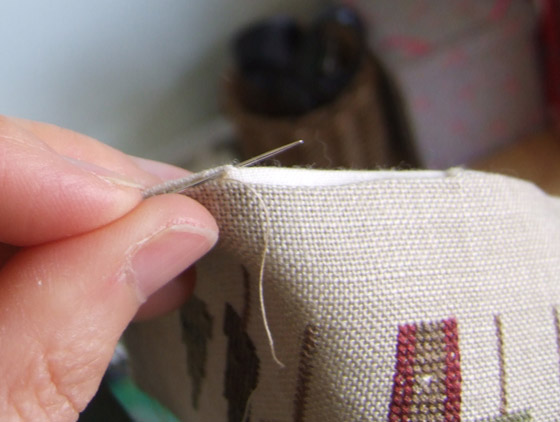
10. Turn piece inside out and carefully push out the corners with a chopstick or similar. Press the stitched piece and ladder/blind stitch the gap closed:
11. Cut 2 pieces of your pillow fabric to the size of your stitched piece PLUS margins PLUS 1/4" seam allowance. E.g My stitched piece, when finished, measured 3.5" x 5.5"and I decided on a 1" margin of pillow showing all around it so I cut my pillow fabric 6"x8" (including the 1/4" seam allowance) The size of your pillow margin is entirely up to you, but I would suggest at least 1".
Again, this is the point at which you may want to mark your 1/4" seam allowance on the wrong side of one of your pillow pieces.
12. Using the pillow fabric, repeat steps 4-10 as for the stitched piece but before you stitch the gap closed, stuff your pillow with fiberfill, using the chopstick to push the fiberfill into the corners.
13. All that's left to do now is centre your stitched piece on your pillow and tie the ribbons together at each side. Cut the ends of the ribbon in an inverted V for a nice finish and to prevent fraying.
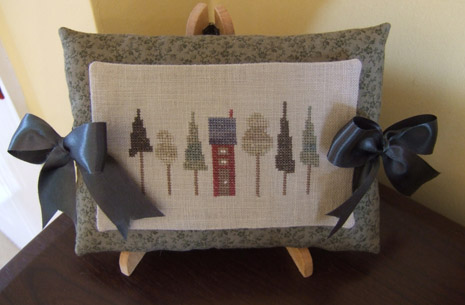
Congratulations, you're done! Now all you have to do is display your pillow and enjoy it :) Oh, and post a picture here, of course ;)
Feedback and constructive criticism is always welcome so if there's anything that you think could have been done better or differently, please post a comment below and I can amend the instructions accordingly. This will also help others when they're preparing their own classes :)
Thank you for participating and I hope you enjoyed the class!
Tutor = KarenV


No comments:
Post a Comment